Job preferences

Utku Olcar
is open to work
Job titles
Robotics Engineer · Robotics Software Engineer · Robotics Specialist · Mechatronics Engineer · Embedded Software Engineer
Start date
Immediately, I’m actively applying
Job types
Full-time (I can work remotely)
If you are hiring, leave an email address, please.
Teleoperation of Giant Robotic Hand
Details
- Date : December 1, 2019
- Category : Robotic Design and Modelling
- Organization : Hisseli Harikalar
How to Make A Teleoperated Robotic Hand
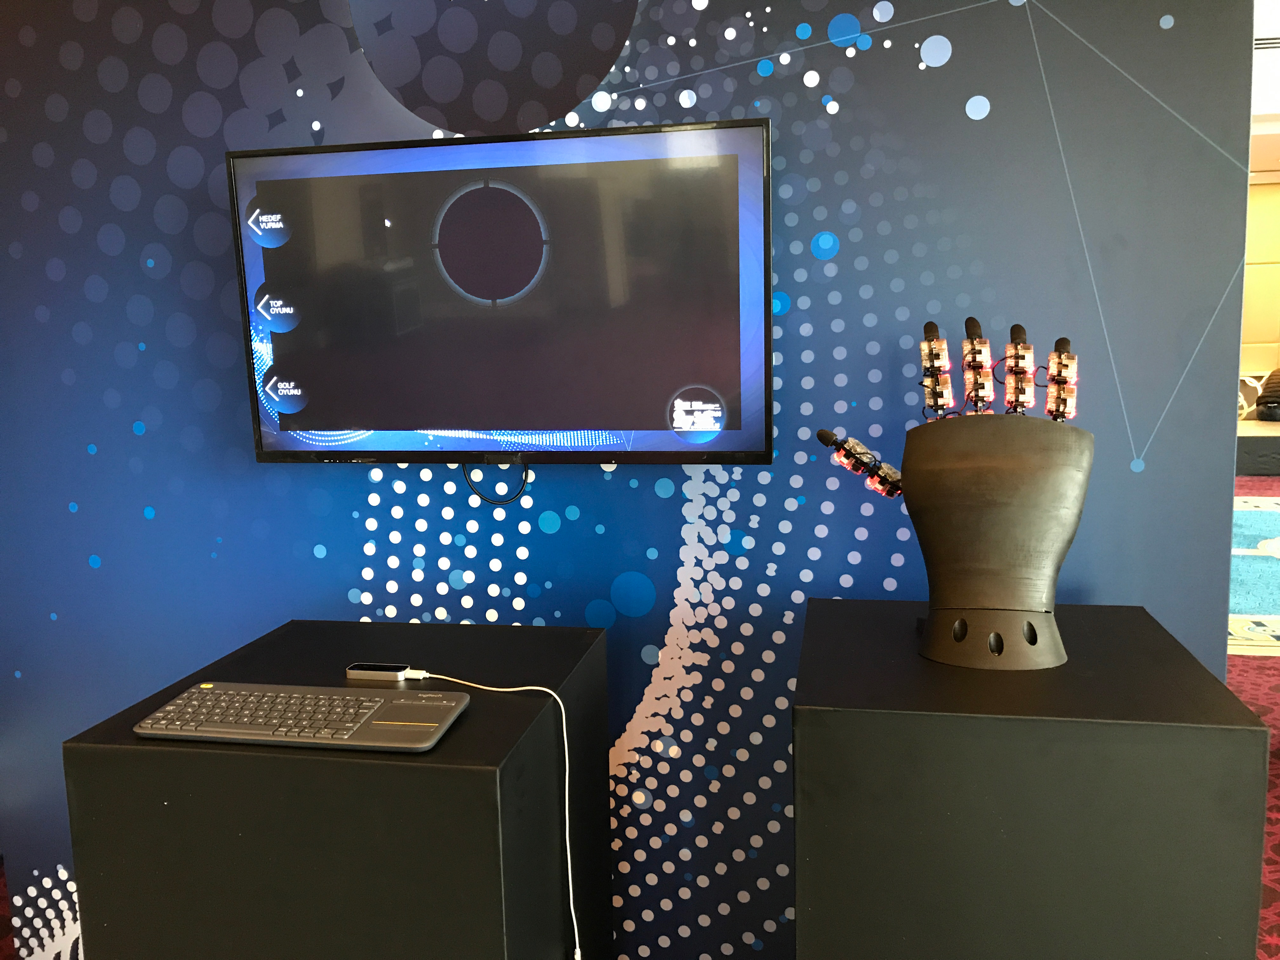
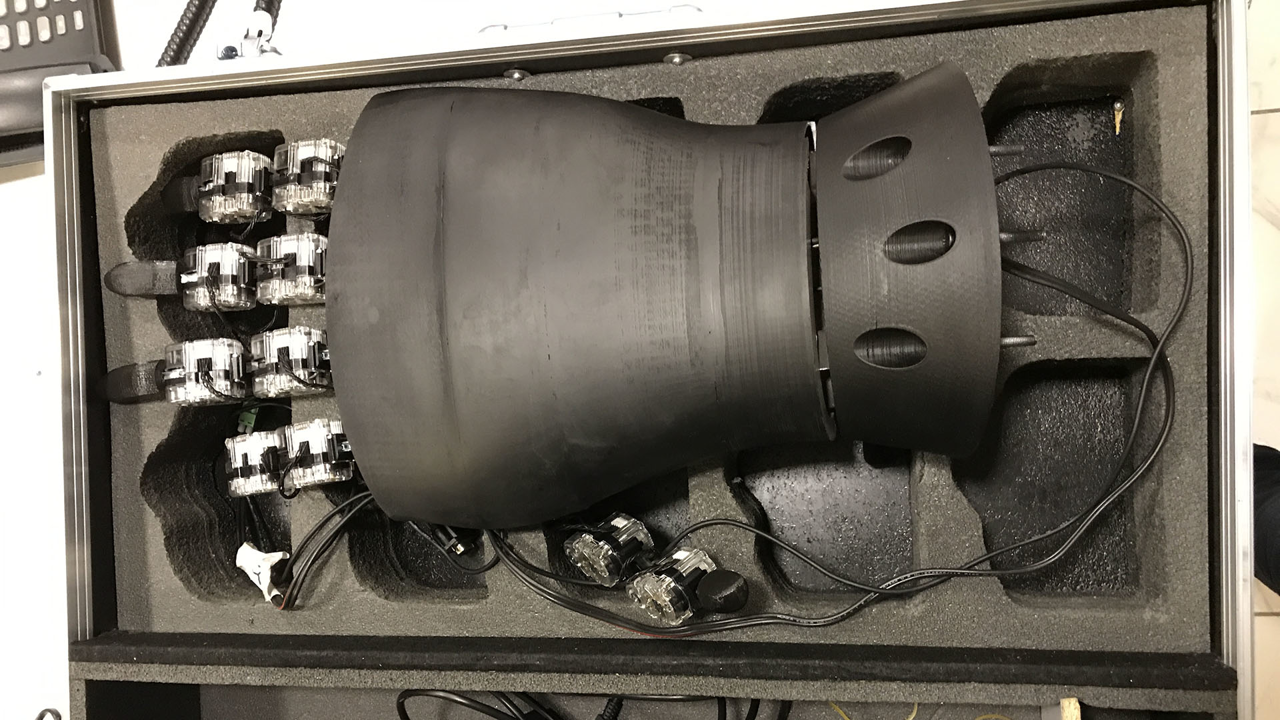
This is an approximately 50 cm lenght robotic hand, designed and produced in only three days in-house. The robot is driven by hand using Leap Motion technology.
Purpose of The Project
This project has reached us from an employer's union to explain to the industrialists that new technologies will be touchless and in the future, employees could work without any danger in any condition with zero industrial accidents.
Mechanical Production
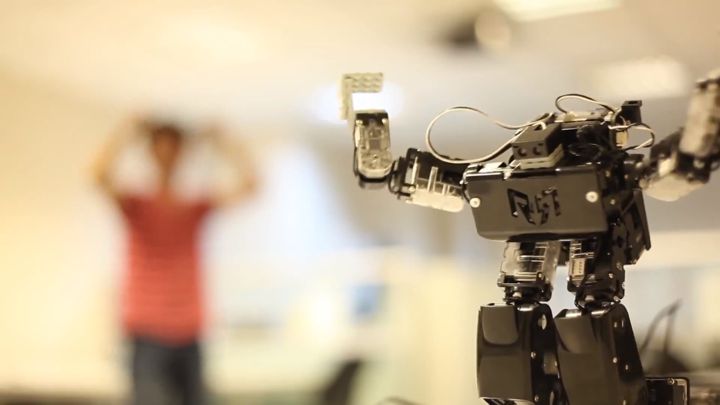
I had really limited time to finish this project and I should have been chosen the production method wisely and I decided to make it the way I know from old projects. For my older project (Whole Body Teleoperation of Humanoid Robot) I was using and a humanoid robot. This humanoid robot was RQ HUNO humanoid robot and a model under the brand Robobuilder Company.
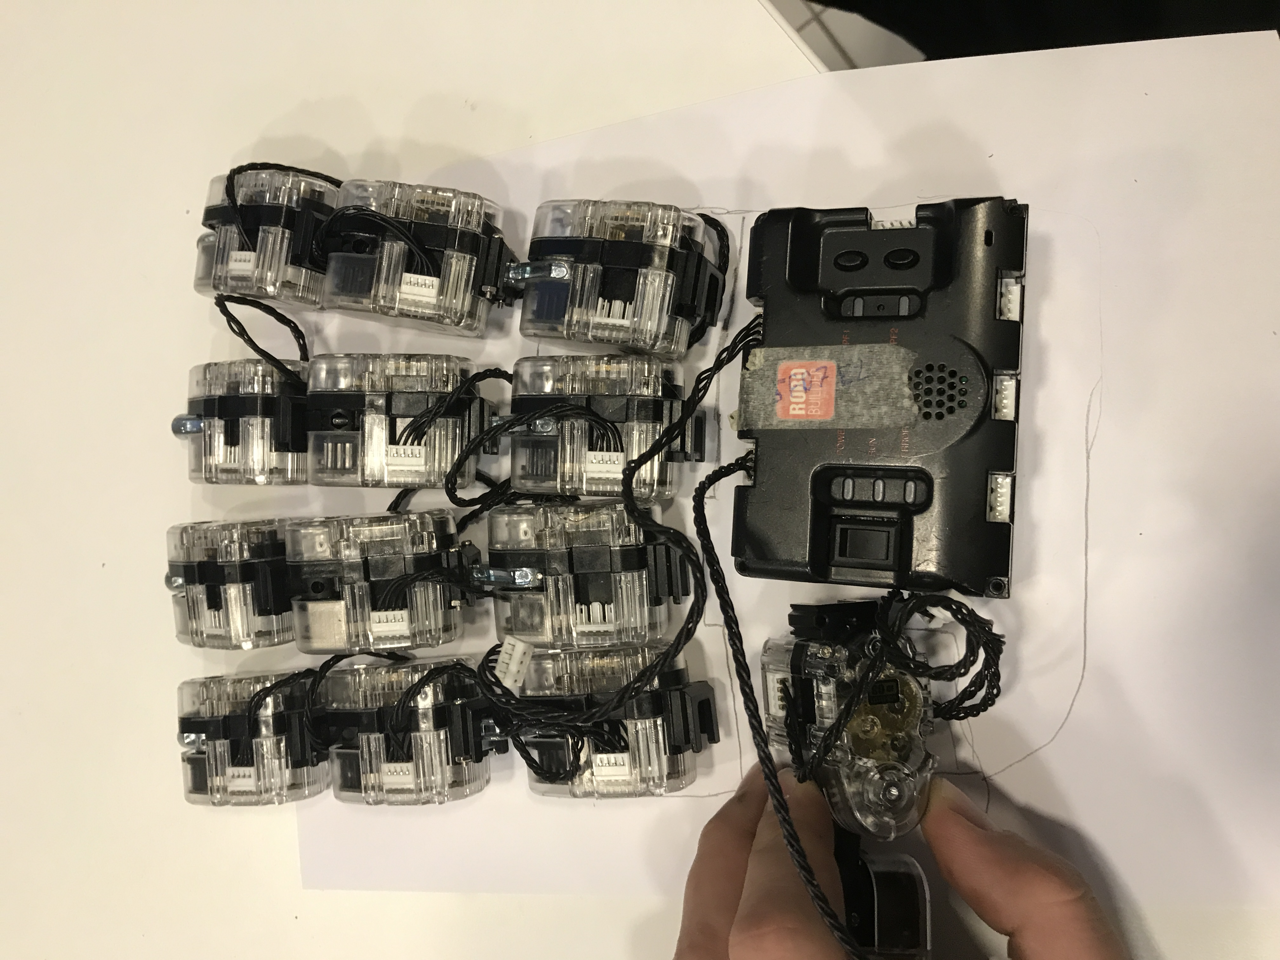
The RQ Huno humanoid robot contains 16 Sam-3 Smart Servo in it. These smart servos could be driven by serial communication and have its own communication protocol. I already knew this protocol from my older project and also there was a C# library that was already written by me. So decided to use these motors.
My company had the bigger version of the RQ-Huno humanoid robot. This bigger one was called RoboBuilder Creator 5720T (The company stopped selling this robot, so I left a youtube video)
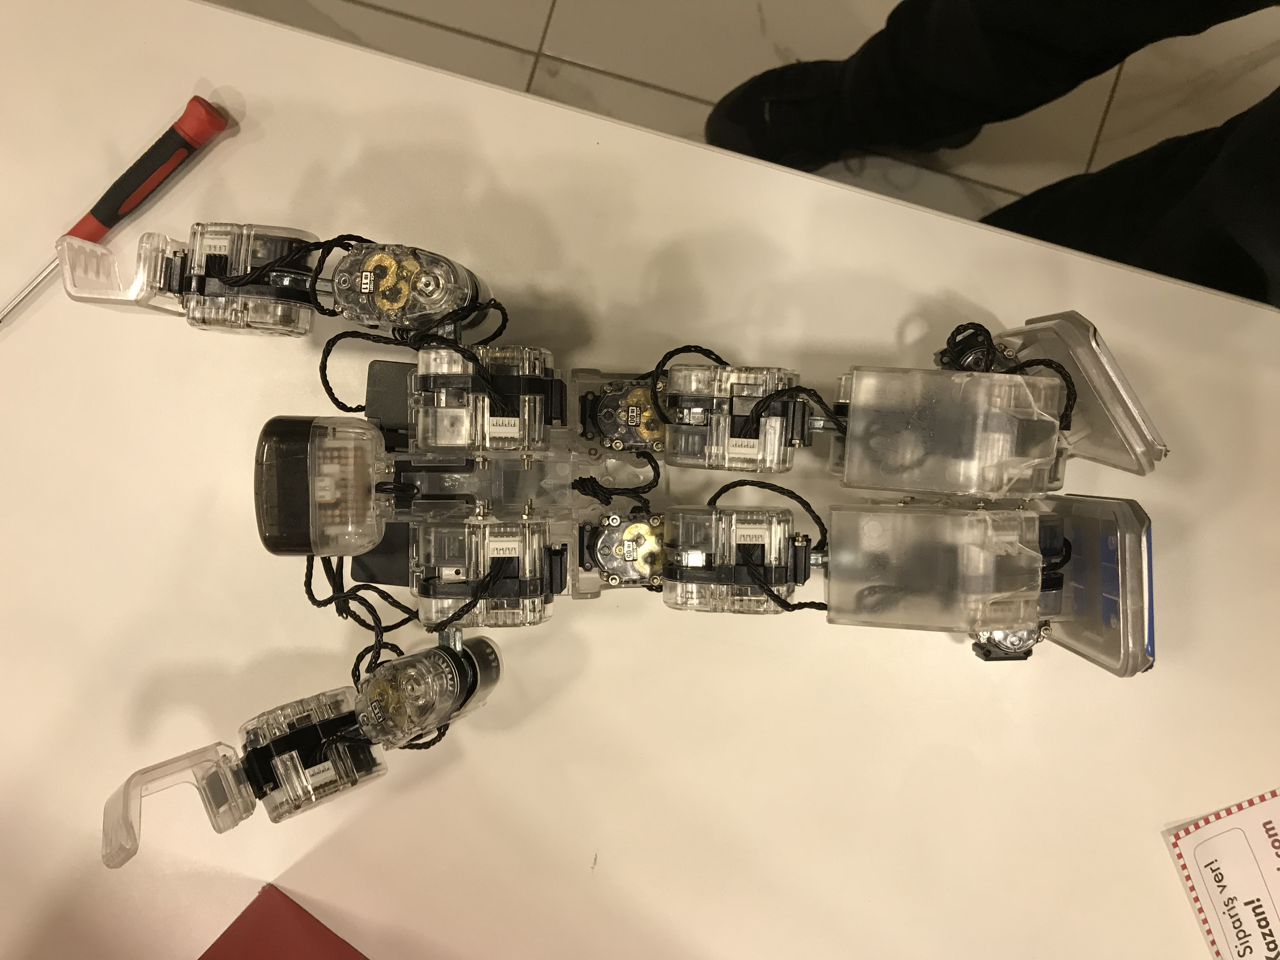
I have planned to use the smart servo motors from this humanoid robot as my robotic hand's finger axis servo motors. I have disassembled the entire humanoid robot.
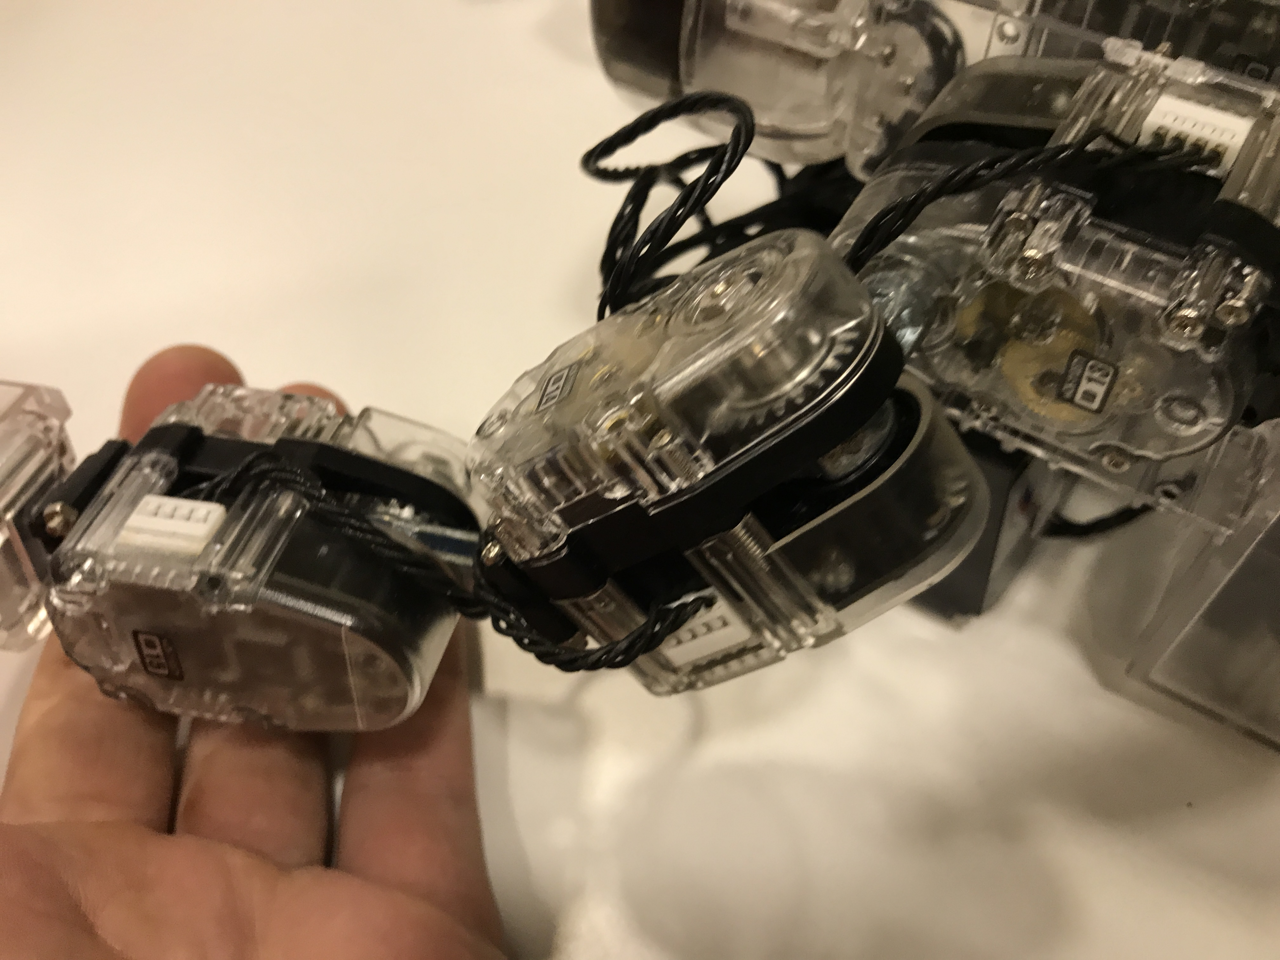
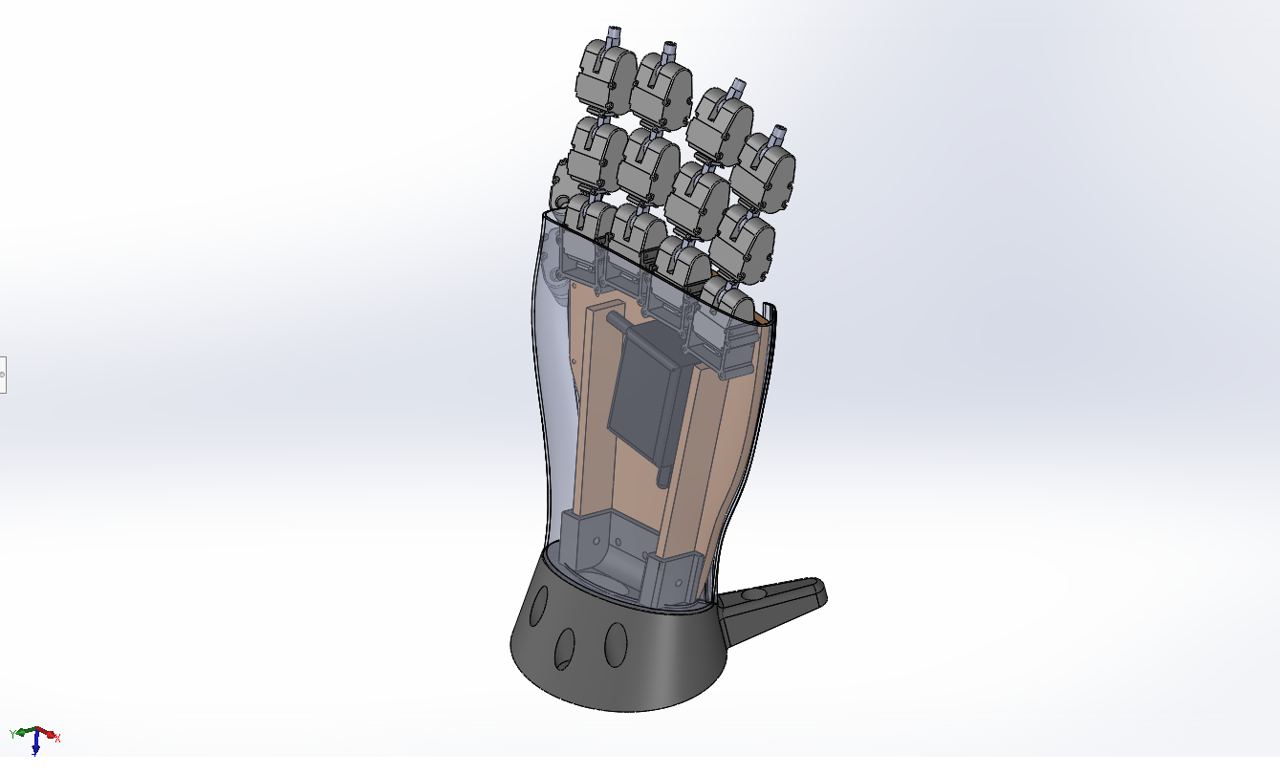
I reassemble the servo motors as fingers with Robobuilder's small metal connector parts. Then, I decided a placement layout. I draw that placement layout into a paper for an easy copy to the 3D drawing.
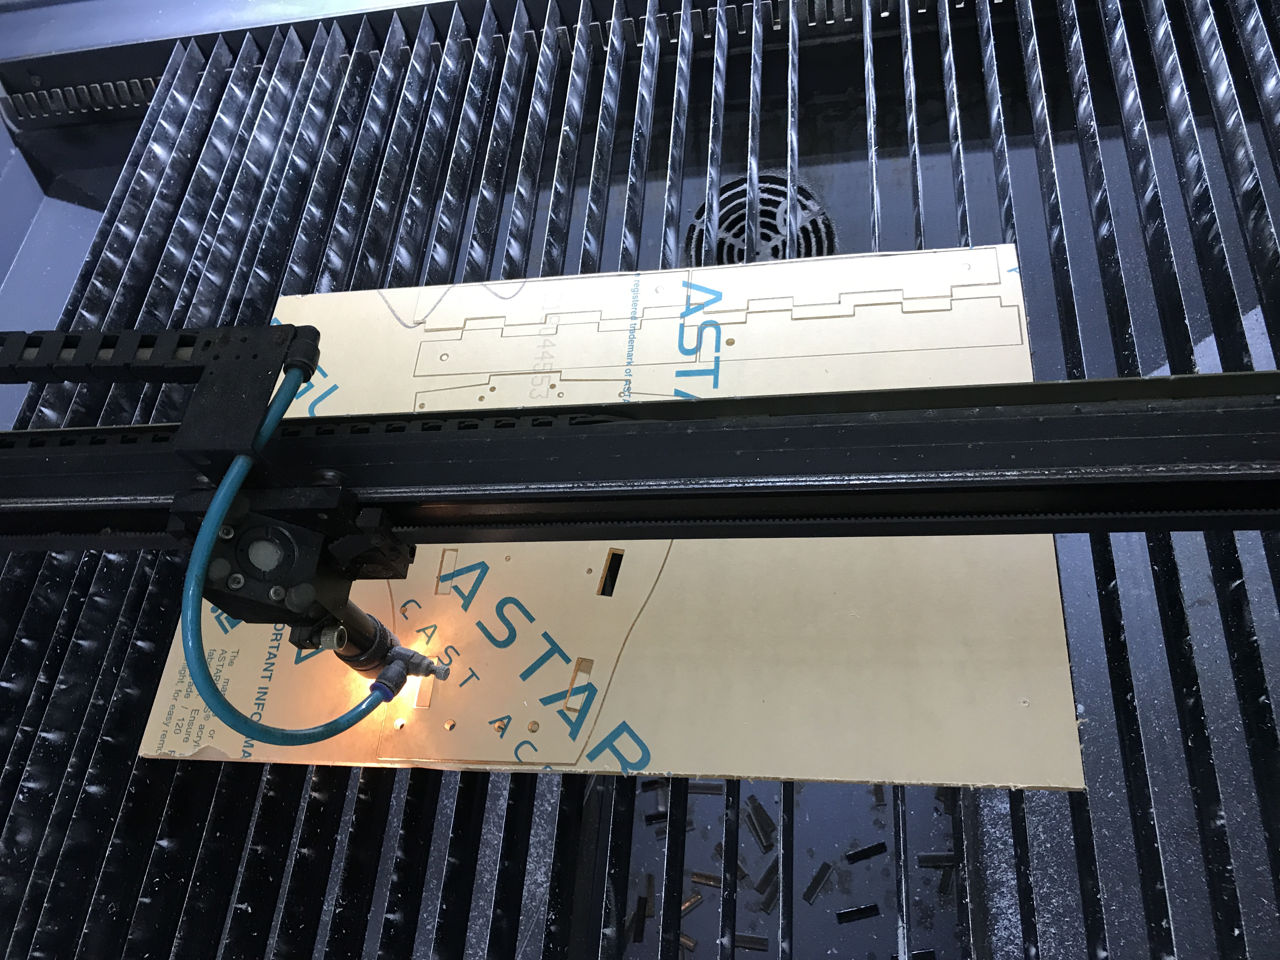
This layout was designed to be the mainframe that carries all the fingers and fix them to the bottom base part. This part produced with a laser cutting method with 5 mm plexiglass material.
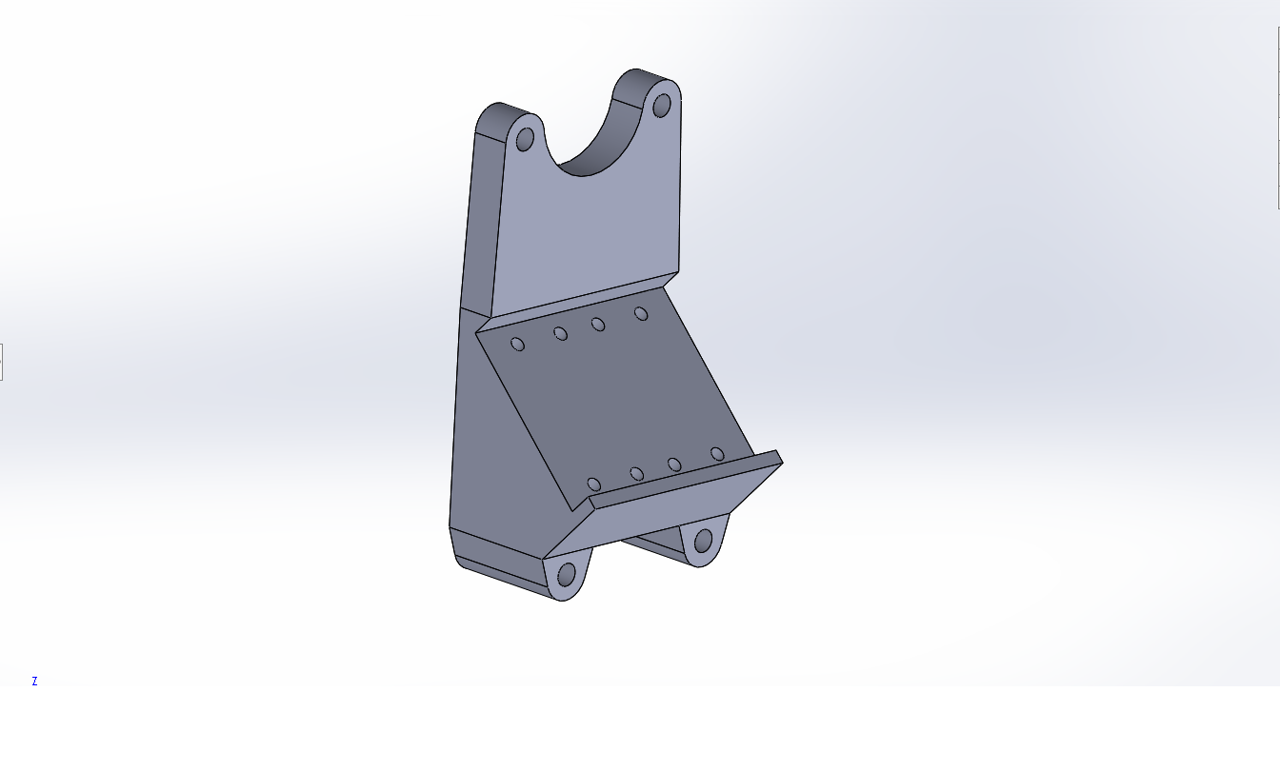
Servo motors' working direction was not suitable to directly pinning to the plexiglass frame. Because of that, I modeled new 3d parts in Solidworks software to stabilize them to the frame and I produced them with a 3D printer. I have designed two different types of holders. One of them was for the thumb finger, the other one for other fingers.
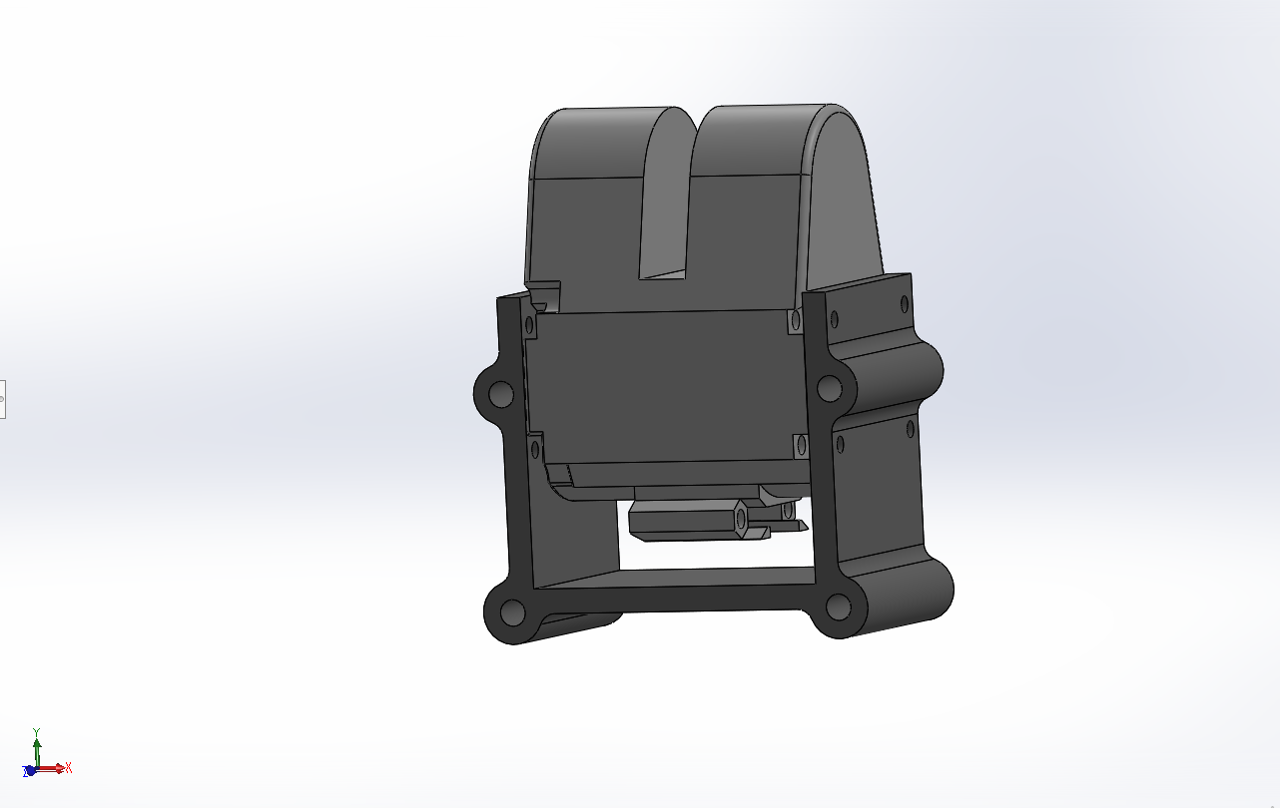
The part design for the thumb finger prepared for two-sided.
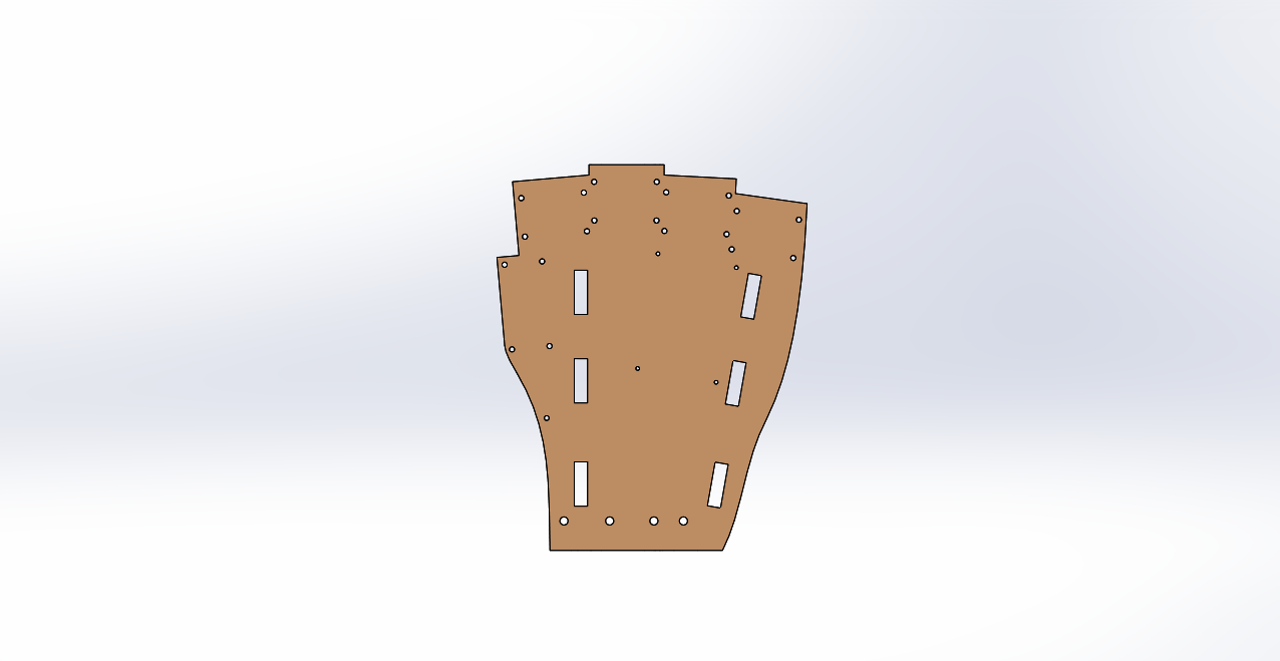
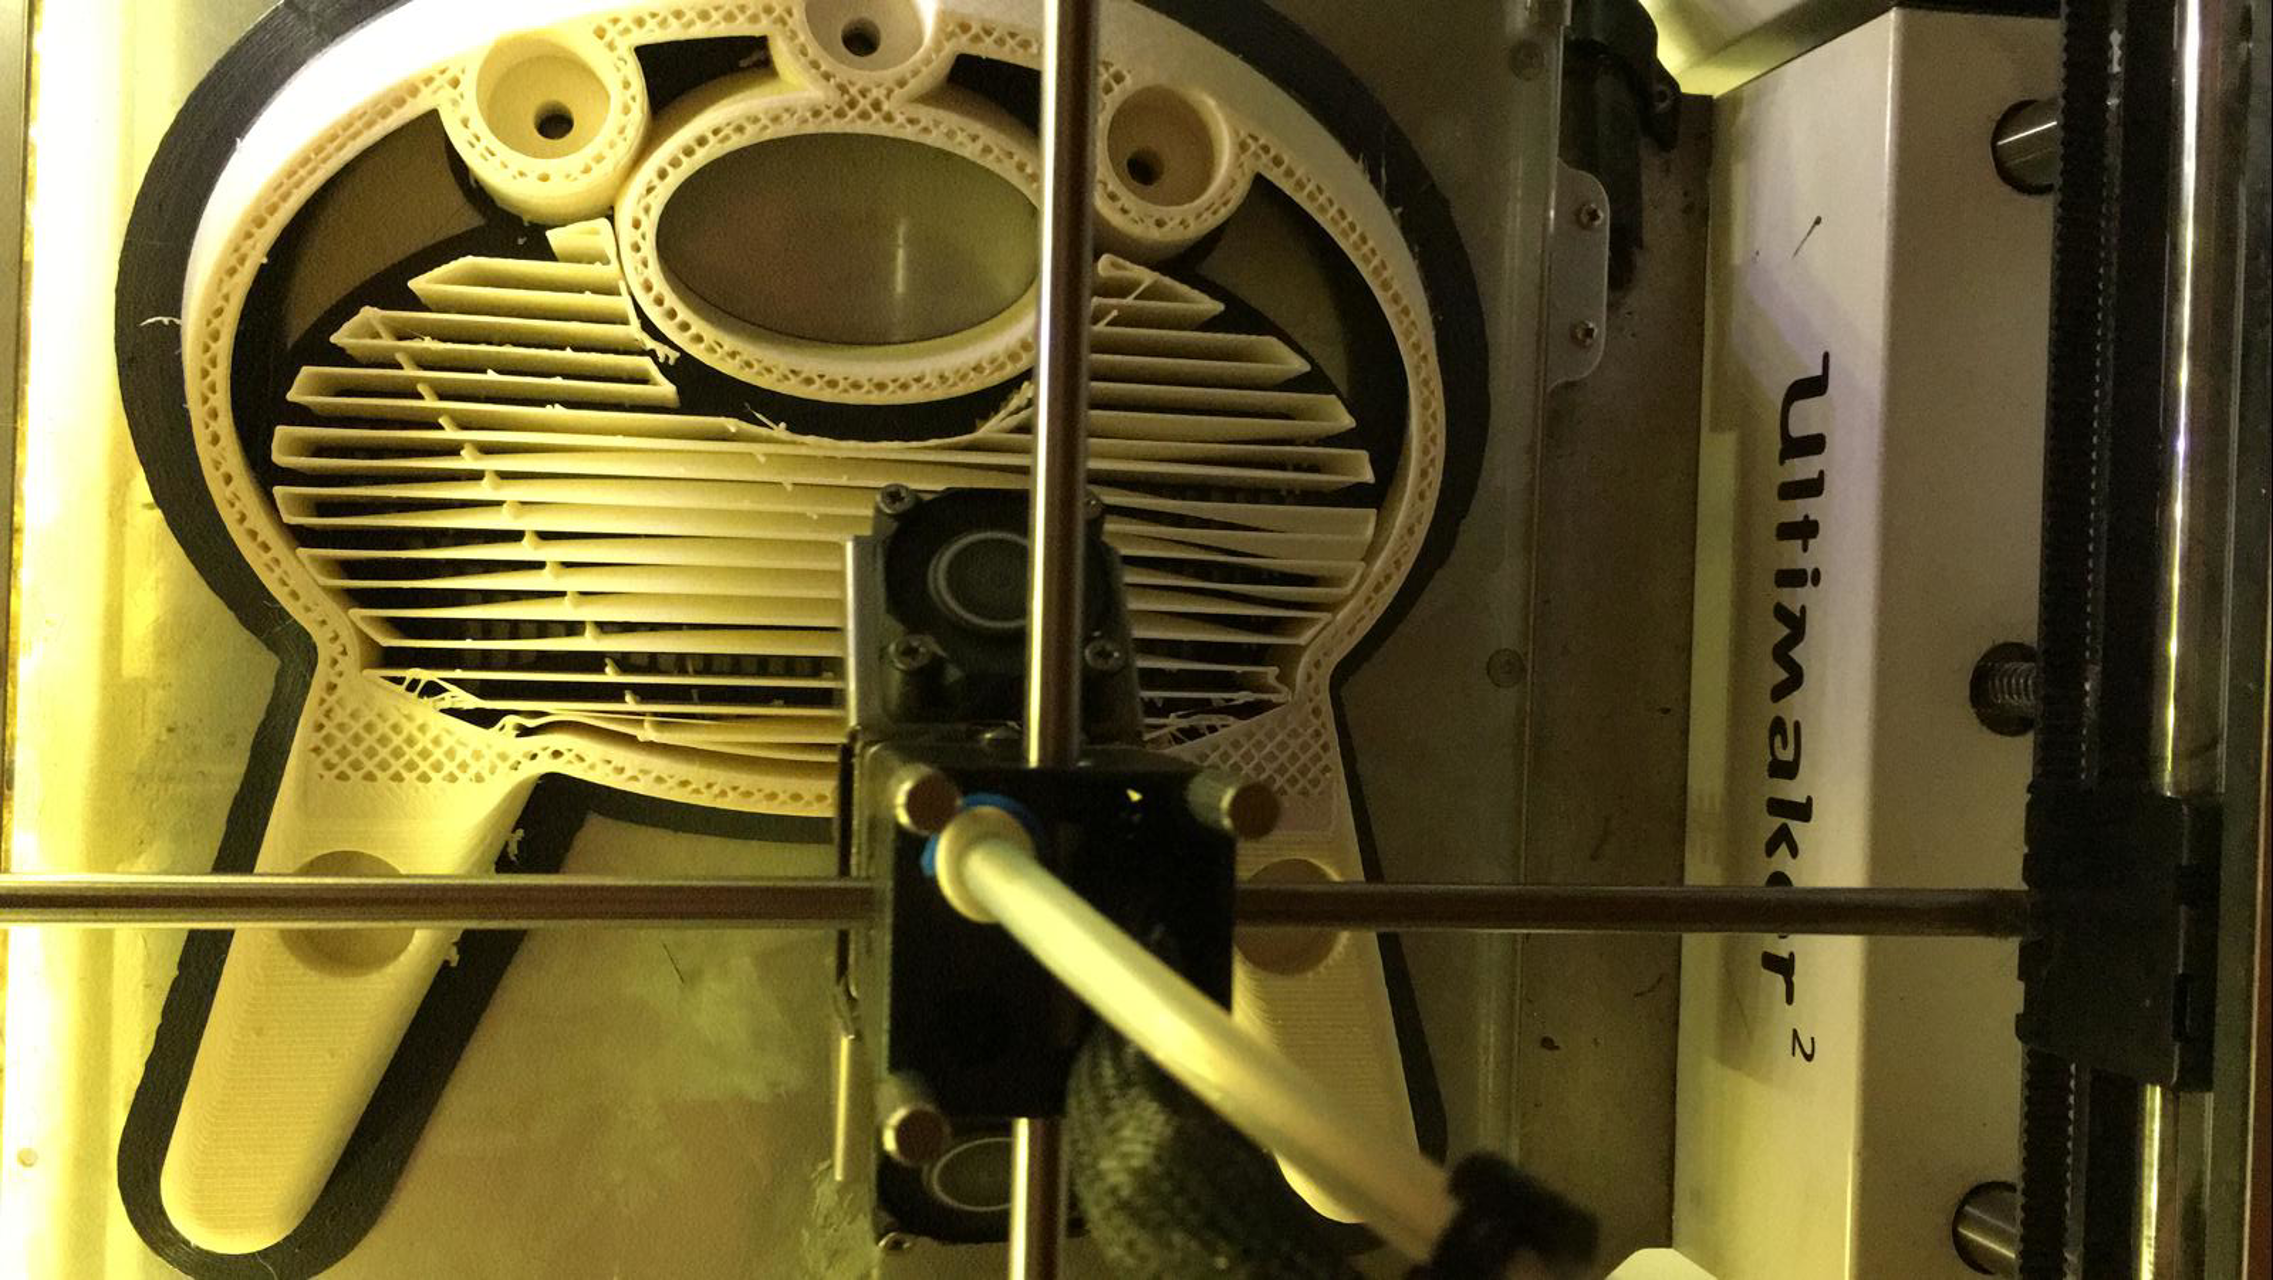
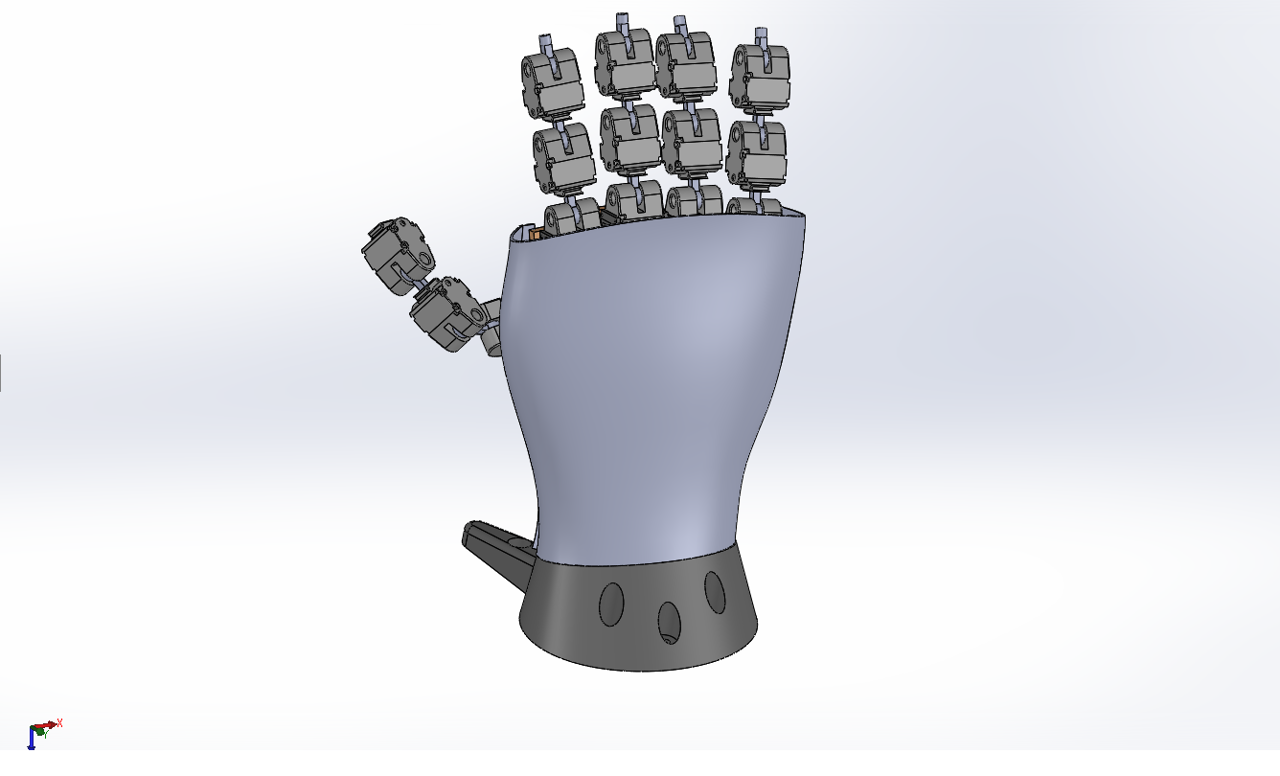
The base is also designed with Solidworks and produced with our 3D Printer. We have an Ultimaker 2 3D Printer in our office and we can easily produce prototypes in-house. This 3D Printer has a 21 cm x 21 cm 3D printing area, so this is our limit to design a part to produce at once with this 3D printer. My first design was bigger than these dimensions, after I tried to print this base I realized that and change the design to make it suitable for our 3D printer machine.
After all this design and production of the elements that we have to use to make our robotic hand working. We needed one more important part to make-up our robot. The cover part was going to make a clear appearance for all massy cable connections and other necessary components inside the robotic hand. I designed that part as the cont of the base model. This part brings really smooth view of our robot design and made all the things clean and more eye-pleasing.
The time was running out but our 3D printer was not able to print all the parts, so we get support from the 3Durak Company which gives the 3D printing service. Only the cover part printed outside our office. They produced that part slicing 3 different bodies with 3 different 3d printer machine. Then, they glue the parts correctly. They produced and gave us this part in one night only.
Programming
Our purpose was to drive or giant hand with anyone's real hand like a remote control. So we decided to use the Leap Motion Controller. The company describes this device as ; "The Leap Motion Controller is an optical hand tracking module that captures the movements of your hands with unparalleled accuracy. From XR to touchless kiosks, the Leap Motion Controller makes interaction with digital content natural and effortless."
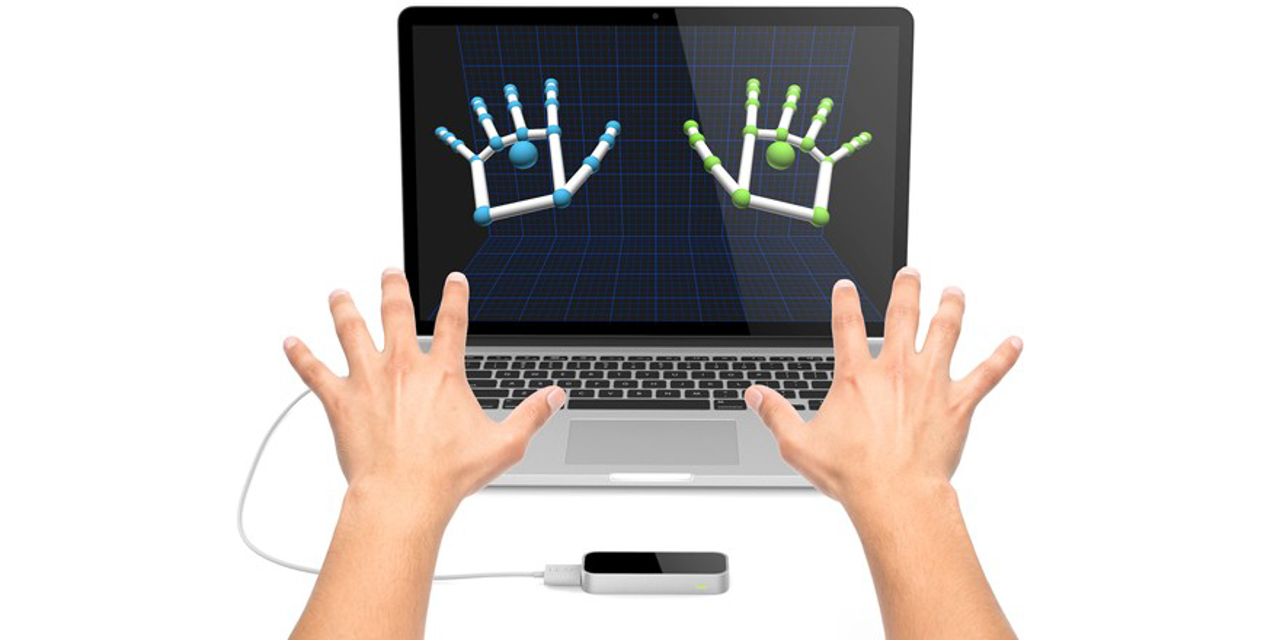
I have found a Unity3D SDK for Leap Motion. Not only the driving robotic hand but also providing a new experience to participants we developed several mini-games with Unity3D like minigolf game etc.
We have taken the finger positions and axis angles of fingers and I used this data to drive out a robotic hand. Using my Sam-3 servo motor C# library, we sent the data to the robotic hand and the project worked like a charm.
Reference :
Related Posts
Check out my all posts-
November 3, 2017
Teleoperation systems which imitate human movements and controlled by a human body are infrequent projects and these wor...
Category ROBOTIC CALCULATIONS
-
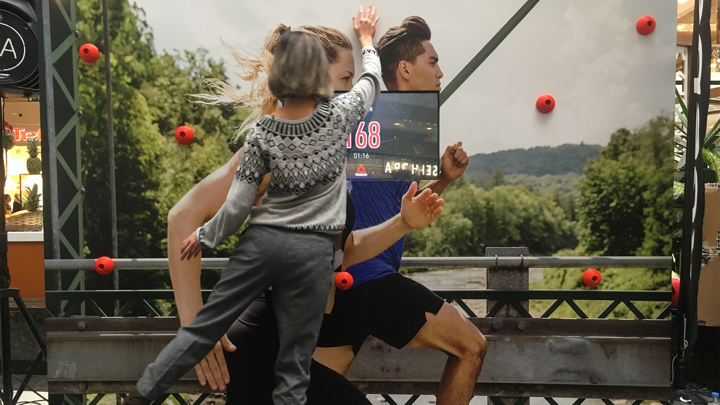
April 25, 2017
This is a physical game for events to which participants can play a minute, especially for sportive brands. The system h...
Category DEVICE SOLUTIONS
-
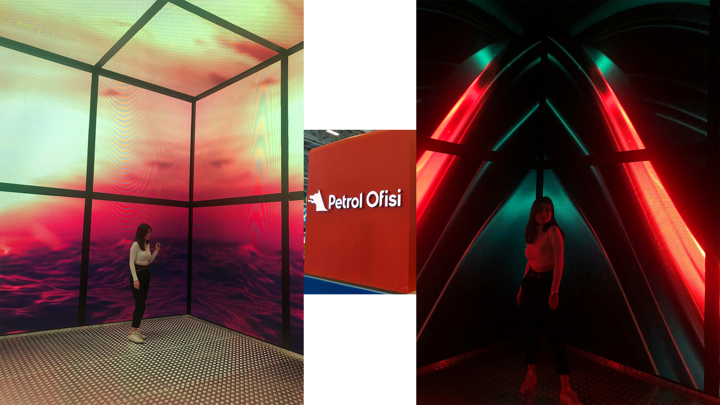
March 3, 2019
The Cube is designed to make the participants experience the immersive 360 movie at a fair. The area is 6m x 6m and 4m i...
Category 3D MODELLING
Comments
12/1/2019
utku olcar
3D Print, Leap Motion, Remote Control, Robobuilder, Robotics, RQ-Huno, Smart Servo motor, Teleoperation, Unity, Unity3D 3D Modelling, Device Solutions, Robotic Calculations, Robotic Design and Modelling
0 Comments